Walk-In Closet Layout Ideas That Actually Maximize Small Spaces
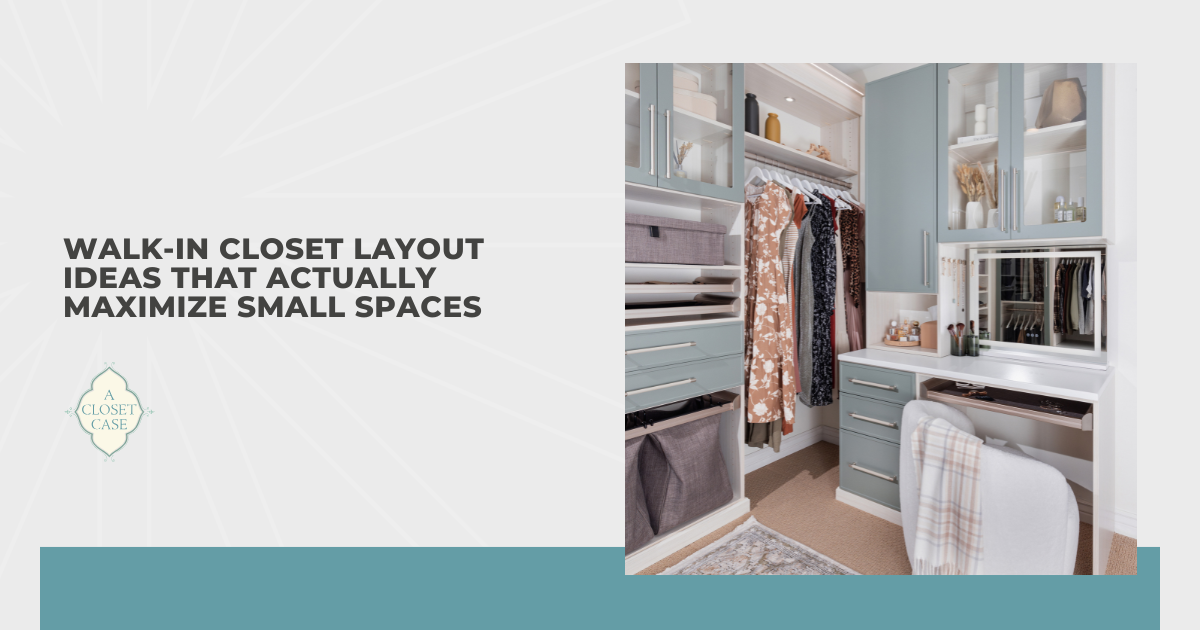
People picture walk-in closets as luxury spaces built for oversized primary suites, but your small room can earn that title too. Clients often write off a cramped closet as hopeless, and I've watched their minds change fast once we rework the layout. Shape and structure do more work in a walk-in closet than square footage, and the right configuration packs real storage into a tight footprint. Size takes the blame for problems a bad layout actually creates.
Storage and movement work differently depending on your closet's shape. A layout built around two connecting walls works completely differently than one built around a single run, and a path-based design shifts things again. Once you look past the square footage and study your closet's actual shape, you'll usually find more usable space than you expected.
A few layout styles consistently outperform the rest in smaller rooms. Here's a look at what's ahead:
- L-shaped layouts
- U-shaped layouts
- Single-wall layouts
- Walk-through layouts
- Island layouts
- Vertical-zone layouts
- Dual-height layouts
- Corner-maximizing layouts
Let's start with the layout shapes themselves.
L-Shaped Layout
An L-shaped layout uses two connecting walls to spread storage around a corner instead of packing it onto one wall. I've installed this configuration in closets barely wide enough to turn around in, and it still held double the storage a single wall could manage. Awkward corners and uneven footprints in walk-in closets often work better with this shape than with any other option. Storage naturally splits across the two walls, keeping hanging space and shelving from crowding each other.
- Best-Fit Rooms: Corner-heavy closets with two adjoining walls give this configuration room to spread out. Odd-shaped spaces, including narrow rooms with a jog in one wall, tend to gain the most storage from this setup.
- Storage Strength: Two walls let you assign one side to hanging and the other to shelving without either section feeling tight. Long dresses and shorter garments each get dedicated space instead of competing for the same rod.
- Corner Connection: Where the two walls meet determines how much usable space this layout actually delivers. Rounded shelving or a corner-specific unit prevents that junction from turning into dead space.
- Balance Both Walls: One wall often ends up overloaded with clothes while the other stays nearly empty and underused. Even storage distribution across both walls keeps the corner functional and easy to reach without extra clutter.
Closets with two solid walls to spare tend to get the most out of an L-shaped layout, especially when the corner gets planned well from the start.
U-Shaped Layout
Three walls of storage sounds excessive until you're standing in a closet that actually has the depth for it. A U-shaped layout builds continuous storage across two side walls and the back wall, so you walk into a horseshoe of space rather than past a single row of it. You'll get far more surface area out of a U-shaped walk-in closet than out of a two-wall setup, and that extra room means you can fit more without anything feeling crowded. Two corners come with three connected walls instead of one, so you'll want to think through storage placement before committing to either side.
- Room Depth: Give this layout enough depth to work with, and you'll feel the difference the moment you step in. A shallow room closes in fast, since three walls leave you without enough space down the middle to move freely.
- Storage Capacity: You get to dedicate space instead of sharing it, since shelving, drawers, and hanging rods each claim their own wall. Three connected walls hold more than most other layouts manage per square foot.
- Center Clearance: Keep enough walking space through the middle, and you'll never feel cramped while getting dressed. Drop below three feet of clearance and quick outfit changes turn into a tight squeeze.
- Avoid Overbuilding: You might fill all three walls and call it efficient, but your doors and drawers still need room to swing open freely. Leave a little breathing room near each wall so the layout stays functional instead of just full.
Measure your depth before you commit three walls to storage, since that single number decides whether this layout works for you or against you.
Single-Wall Layout
Some homeowners picture a full wraparound closet the moment someone mentions a walk-in space, but a single wall of storage can outperform that fantasy in the right room. A single-wall layout lines an entire walk-in closet along one continuous run, giving you that outcome without splitting storage across multiple walls. Narrow rooms depend on this shape more than any other, since there's rarely space for a second or third wall to add anything. Everything sits within reach along one line, so you spend less time walking and more time getting dressed.
- Narrow Rooms: A closet that runs long but stays narrow gets the most out of this layout, since one wall doesn't need extra floor space to work. Rooms too tight for a second wall still function well here.
- Space Efficiency: Hanging rods, shelves, and drawers sharing one wall stretch every inch of storage instead of spreading it thin. Combining all three keeps your closet organized without wasting space elsewhere.
- Wall Length: Longer walls give you more linear footage to divide between double-hang, single-hang, and shelving sections. Shorter walls force a choice about which storage type matters most to you.
- Mind the Load: Loading a single wall shelf to shelf might feel efficient, but airflow and access still need room to breathe. Gaps between sections let you actually reach what you need without shifting stacks first.
One wall can outperform two or three when it's planned right for your space, and I've built that difference into more closets than I can count.
Walk-Through Layout
A closet shared between two connecting rooms rarely gets much attention from you until a walk-through layout puts both sides of that space to work. Storage runs along both sides of a path here, turning your connector space into a fully functional walk-in closet you actually enjoy using. Doorways on each end mean this shape works best when it links two rooms you use daily, rather than sitting as a dead-end room. Foot traffic through the middle shapes every decision you make here, from where hanging rods go to how wide you need that center path to stay.
- Path Width: A path under three feet turns your quick trips through the closet into a squeeze past hanging clothes. Widen it to three feet or more and you'll move easily even with both sides fully stocked.
- Dual-Side Storage: Storage on both walls doubles what you'd get from a single-wall room in the same footprint. Balance hanging space and shelving on each side so neither wall ends up overloaded.
- Traffic Flow: Entry and exit points on opposite ends change how you use this layout compared to a closet with one door. Keep frequently used items near whichever entry fits your daily routine best.
- Avoid Bottlenecks: Deep drawers or bulky shelving on both sides can shrink your center path fast. Choose shallower storage on at least one wall so the walkway never feels like a tight corridor.
Your walkway between two storage walls can carry real storage once you plan around how you actually move through it, not just around how much space you have.
Island Layout
Folding laundry on your bed or draping outfits over a chair usually means one thing: your closet has no flat surface built for the job. An island layout solves that by placing a freestanding storage piece at the center of your walk-in closet, giving you a dedicated spot to fold, sort, and lay out clothes. Extra floor space becomes the deciding factor here, since an island needs clearance on every side to stay functional rather than becoming another obstacle. Drawers built into the base add storage most layouts can't offer without eating into wall space.
- Floor Space Needed: Most closets need at least seven feet of width to fit an island without cramping the walkways around it. Anything tighter turns your island into a bottleneck instead of a bonus.
- Built-In Function: Drawers inside the island give you storage that doesn't compete with your walls for space. Use them for items you'd rather keep hidden, like accessories or seasonal pieces.
- Surface Purpose: A flat top gives you a place to fold clothes, sort laundry, or lay out an outfit before you commit to it. Skip a countertop finish here if you want the surface to hold up against daily use.
- Clearance on All Sides: Three feet of clearance on every side keeps your island from turning into a squeeze point during busy mornings. Less than that, and you'll bump into it more than you use it.
An island earns its place only when your closet has the width to support one without shrinking everything else around it.
Vertical-Zone Layout
Ceiling height often gets ignored while every storage decision focuses on the floor plan below it. I've watched homeowners double their storage simply by treating the space above eye level as real square footage instead of dead air. A vertical-zone layout divides your walk-in closet into stacked sections, from a top zone for rarely used items down to hanging space you reach every day. Height becomes your ally here, especially in closets too narrow or shallow to expand outward.
- Top Zone: Reserve the highest shelves for out-of-season clothing or luggage you grab a few times a year. A step stool bridges that gap so you're not stacking items where you can't reach them safely.
- Mid Zone: Keep your everyday hanging rods and frequently used shelves at eye level and below. Quick access matters most here, so this zone should hold what you touch daily.
- Lower Zone: Drawers, shoe storage, and bins belong near the floor where bending down still feels manageable. Heavier items settle better at this level than up near the ceiling.
- Zone Transitions: Clear boundaries between each zone keep your closet from feeling like one messy stack. Label bins or use distinct shelf spacing so you always know where something belongs.
Stacking zones this way turns unused ceiling space into storage you'll actually rely on, not just space you look up at.
Dual-Height Layout
Your partner's t-shirts don't need the same rod height as your dresses. One wall can hold two hanging zones set at different heights in a dual-height layout, letting shorter and longer garments each get their own dedicated rod. This shape works especially well in a shared walk-in closet where mismatched wardrobe lengths would otherwise compete for the same space. Splitting height instead of splitting walls keeps both wardrobes organized without doubling your square footage.
- Height Split: A lower rod holds shorter items like shirts and folded pants, while a higher rod above it handles longer garments needing more drop. Measuring both wardrobes first prevents either rod from sitting at an awkward height.
- Shared Closets: Two people with different clothing lengths benefit most from this setup, since neither wardrobe forces a compromise on the other. Couples and roommates often see the biggest improvement here.
- Rod Placement: Positioning matters as much as height, since rods set too close together crowd hangers and make items hard to pull free. Leave enough vertical gap between zones so nothing catches or wrinkles.
- Avoid Mismatch: Assigning zones without checking actual garment lengths first often leads to one rod sitting nearly empty. A quick inventory of what each person owns prevents that kind of wasted space.
Height, not wall count, is what keeps two different wardrobes working side by side without either one losing room.
Corner-Maximizing Layout
Corners get treated as dead space in most closets, even though they often sit right next to your most-used storage walls. Diagonal shelving or an angled unit turns that overlooked space into a corner-maximizing layout, and I've reclaimed plenty of closets that felt tight before making that one change. Square footage in a walk-in closet rarely goes to waste here, since every corner gets assigned a job instead of sitting empty. Reaching into a corner still needs to feel natural, so accessibility matters as much as the storage itself.
- Angled Shelving: A diagonal shelf cuts across the corner instead of running parallel to either wall, giving you access without forcing an awkward reach. This works especially well for folded items you don't need daily.
- Corner Hanging: Specialty rods designed for corners let you hang clothes in a spot most layouts waste entirely. Garments still need enough clearance to swing open without hitting either wall.
- Reach Test: Walk up to your corner storage and reach for something on the back shelf before committing to a final design. If that reach feels forced, the unit probably needs repositioning or resizing.
- Pair with Other Layouts: Corners rarely work alone, so combine this approach with an L-shaped or U-shaped configuration for the best results. Treating corners as an addition rather than a standalone plan gets you the most storage.
A corner with a real job stops wasting space, and that's the whole point of maximizing one.
Conclusion
Square footage gets far more credit and far more blame than it deserves when walk-in closets feel cramped or waste space. A layout built around your actual habits can turn the same room into something that works for you instead of against you every morning. Corners, walls, and floor space all matter less than how well they get arranged around those habits. A closet shaped to fit its space will always outperform a bigger one built without a plan.
Showroom Location
260-D Seven Farms Drive, Daniel Island, SC 29492
Contact Information
Phone: (843) 971-9069
Email: aclosetcase@gmail.com
Hours
Showroom & Office Hours
Monday - Friday: 9:00 AM - 5:00 PM
Saturday - Sunday: By Appointment Only